How to Draw a Deer
Deer are one of those animals you wish to encounter while wandering the woods. These cute creatures like to graze while exploring forests and meadows where they can find berries, leaves, twigs, and other plant life. Many male deer have nice sets of branching antlers that fall off and regrow every year. In this tutorial, you will learn how to draw a deer in just 14 easy steps.
This easy deer drawing can be done by kids or anyone new to drawing. I will be showing you how to draw the deer in steps, from the circle and oval guides to the body, legs, tail, face, antlers, ears, hooves, spots, and coloring.
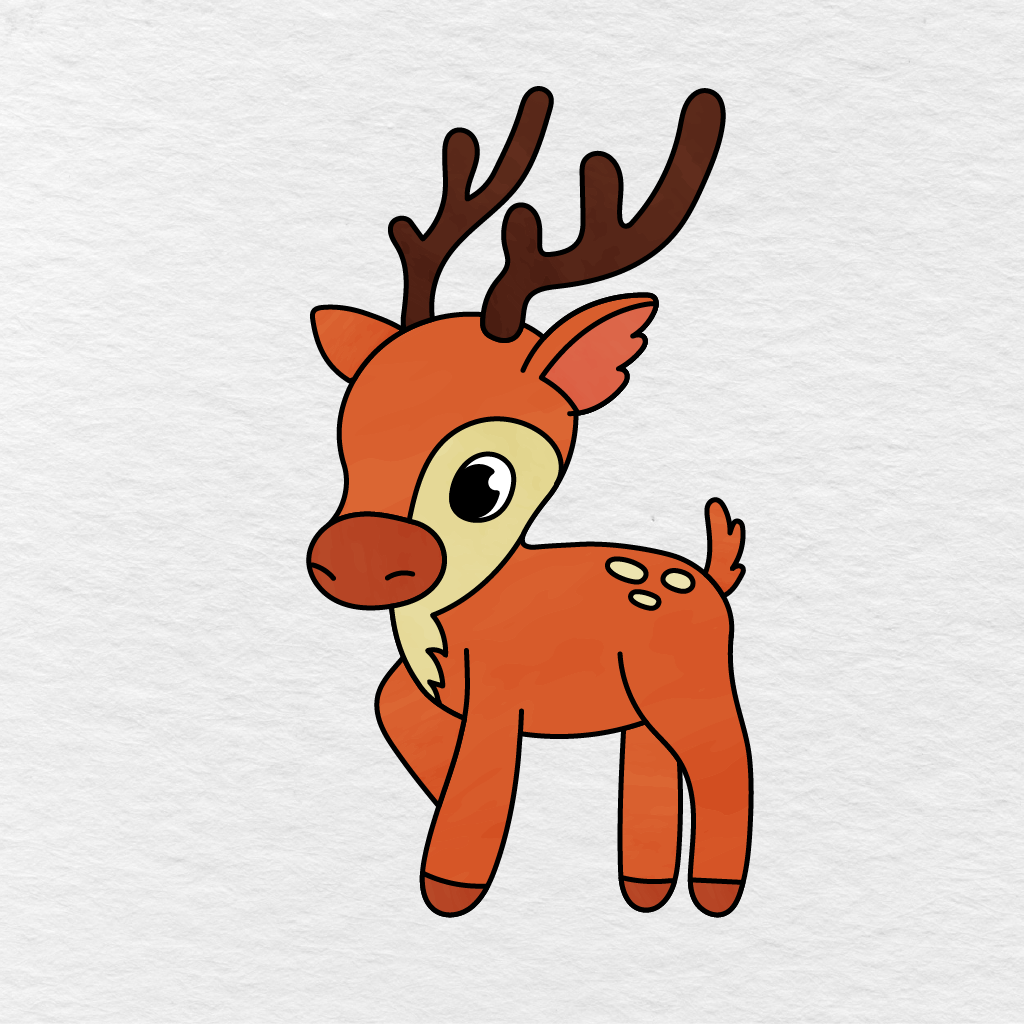
Our deer is standing and smiling for us with nice antlers and a few spots on his back. Just follow the blue lines in this easy deer drawing step by step, and you will have a nice deer sketch in no time.
Want it on paper?
Every step on one sheet, sized for US Letter and A4.
1
Draw the Head and Muzzle Shapes
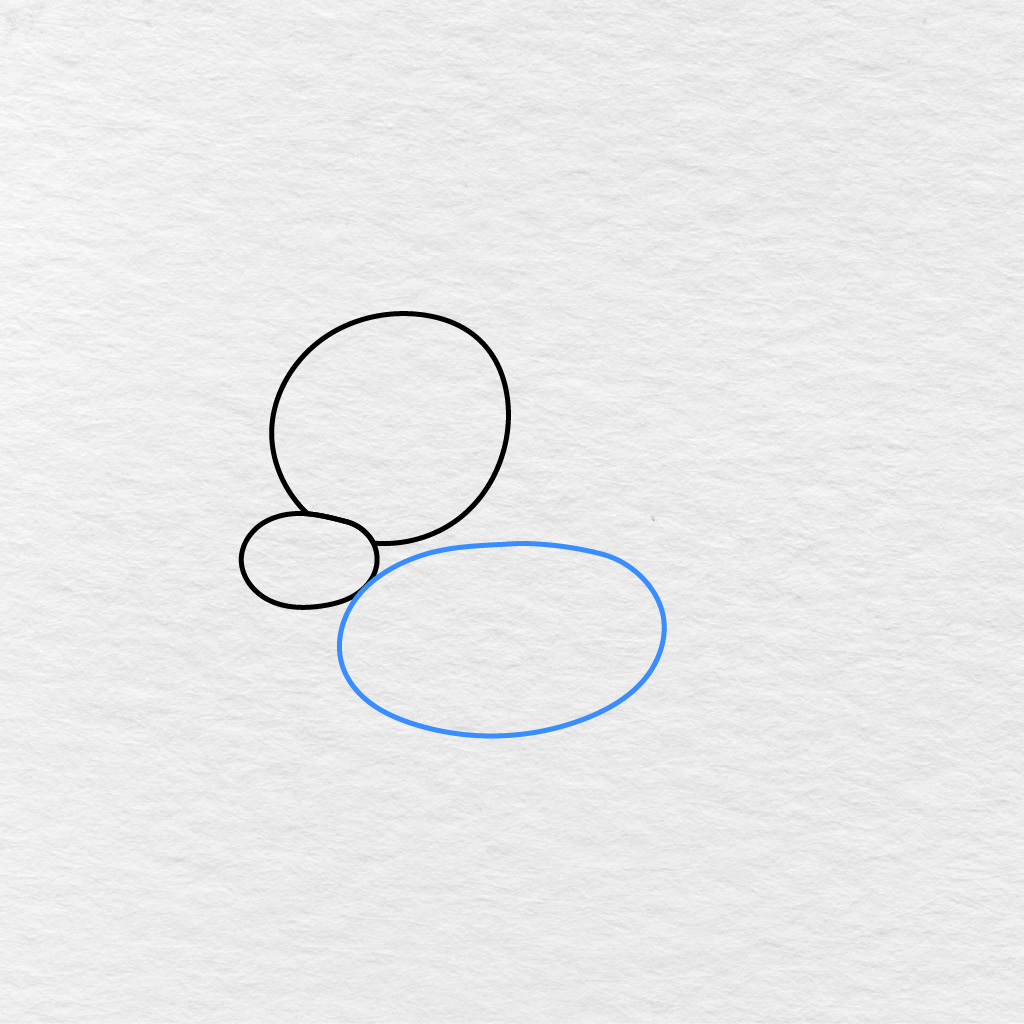
Take your pencil and start by drawing a big circle for the deer’s head.
Add a wide oval shape on the lower left corner of the head circle, making sure the two shapes overlap slightly as the oval will be the muzzle.

2
Add the Body Shape
Draw a big horizontal oval lower and to the right of the head.
Leave some space between the head and body so we can connect them later with the neck.
3
Shape the Head and Body Outline
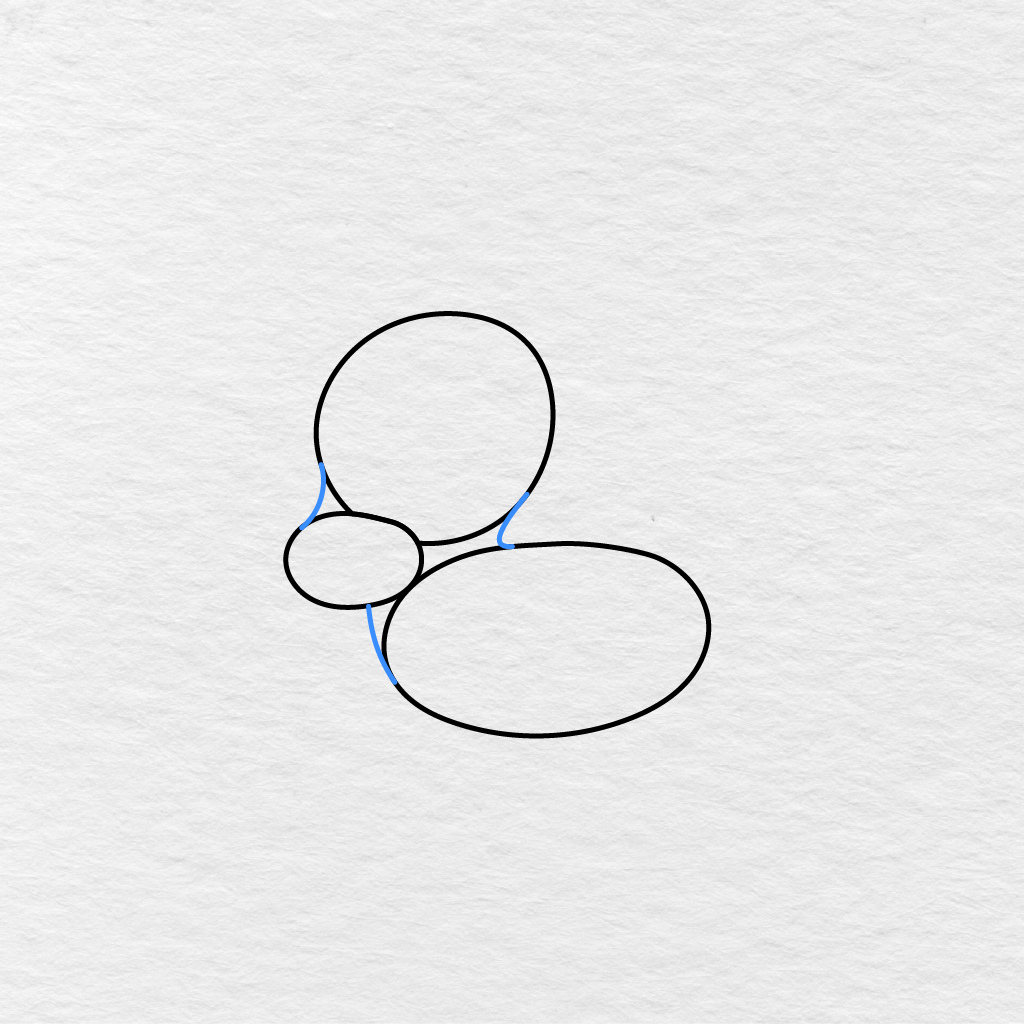
Start by adding some curved lines along the lower edges of the head.
Connect the head to the body with a curved line for the neck and another curved line for the chest. Erase the extra guide lines as you go.
4
Draw the Front and Back Legs
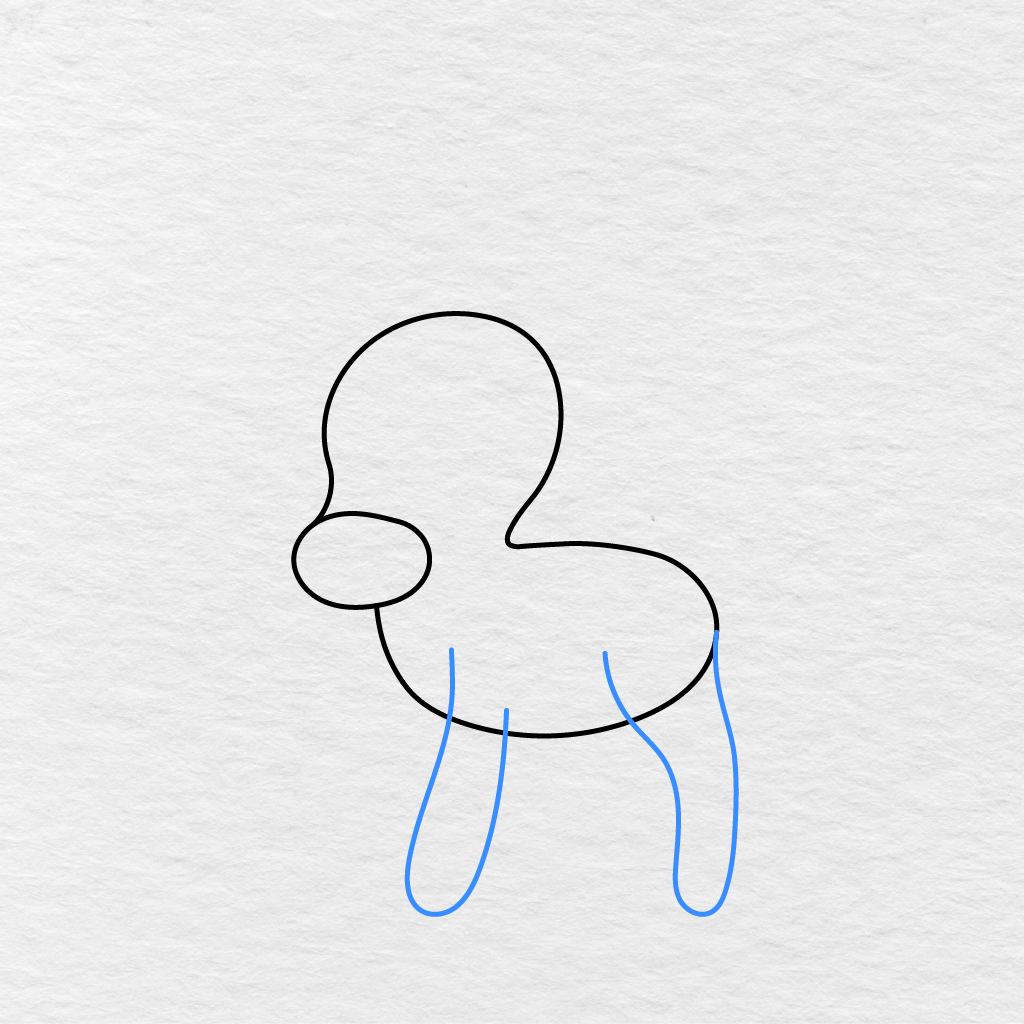
Draw one long front leg under the deer’s chest.
Do the same for one back leg at the rear end of the deer’s body. Make sure to give the legs a nice curve at the end for the hooves that we will add later.
5
Add the Remaining Legs
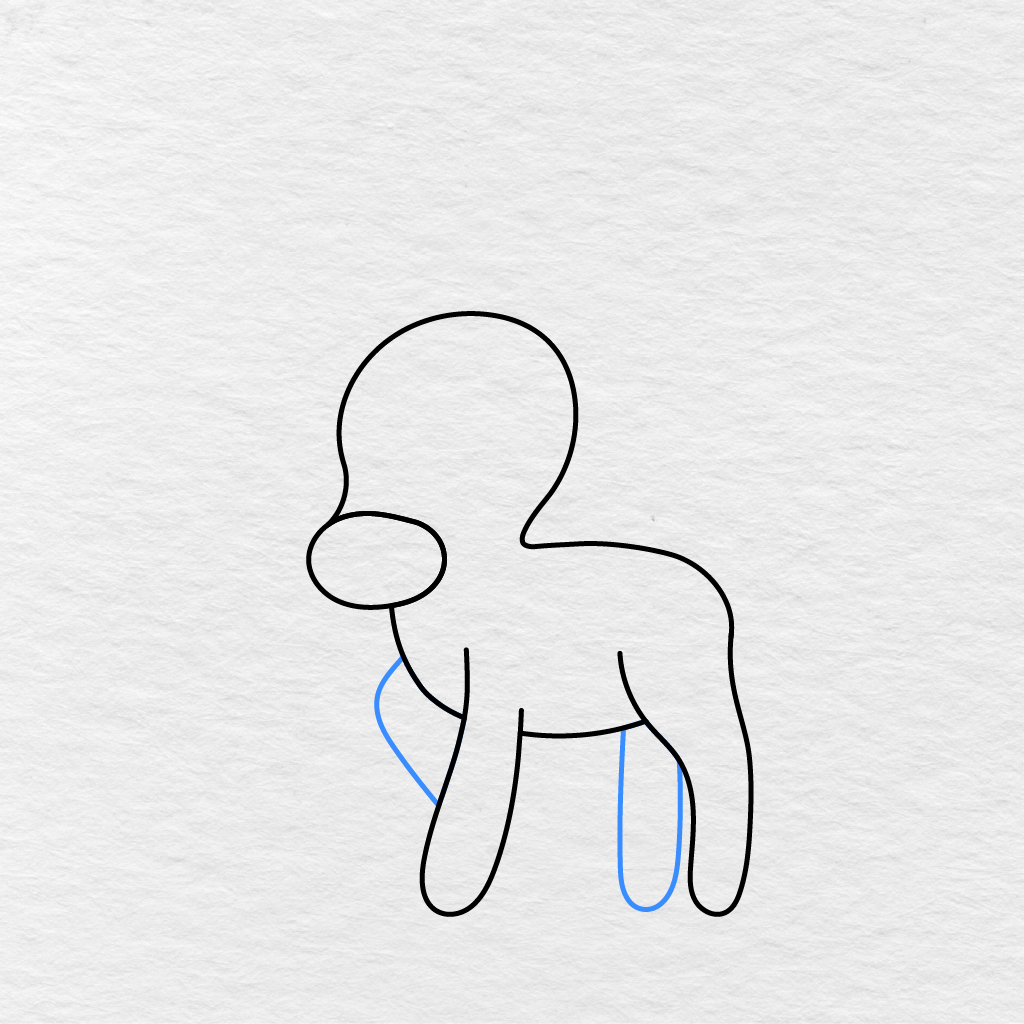
Draw the second front leg behind the first one.
Add the other hind leg under the deer’s body. These two legs should be hidden a little behind the other legs.
6
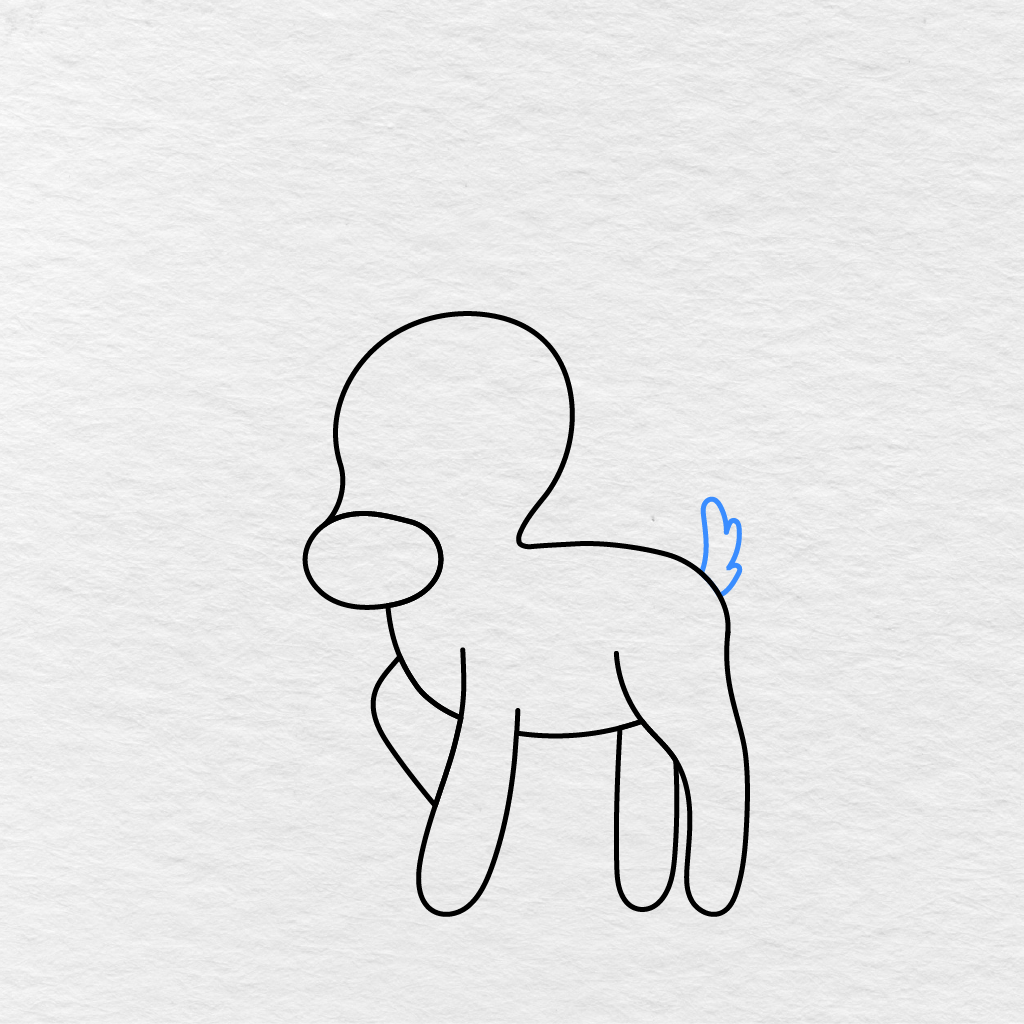
Draw the Tail
Add a little tail at the end of the deer’s back.
Use a few pointed curves to give the tail a nice fluffy appearance.
7
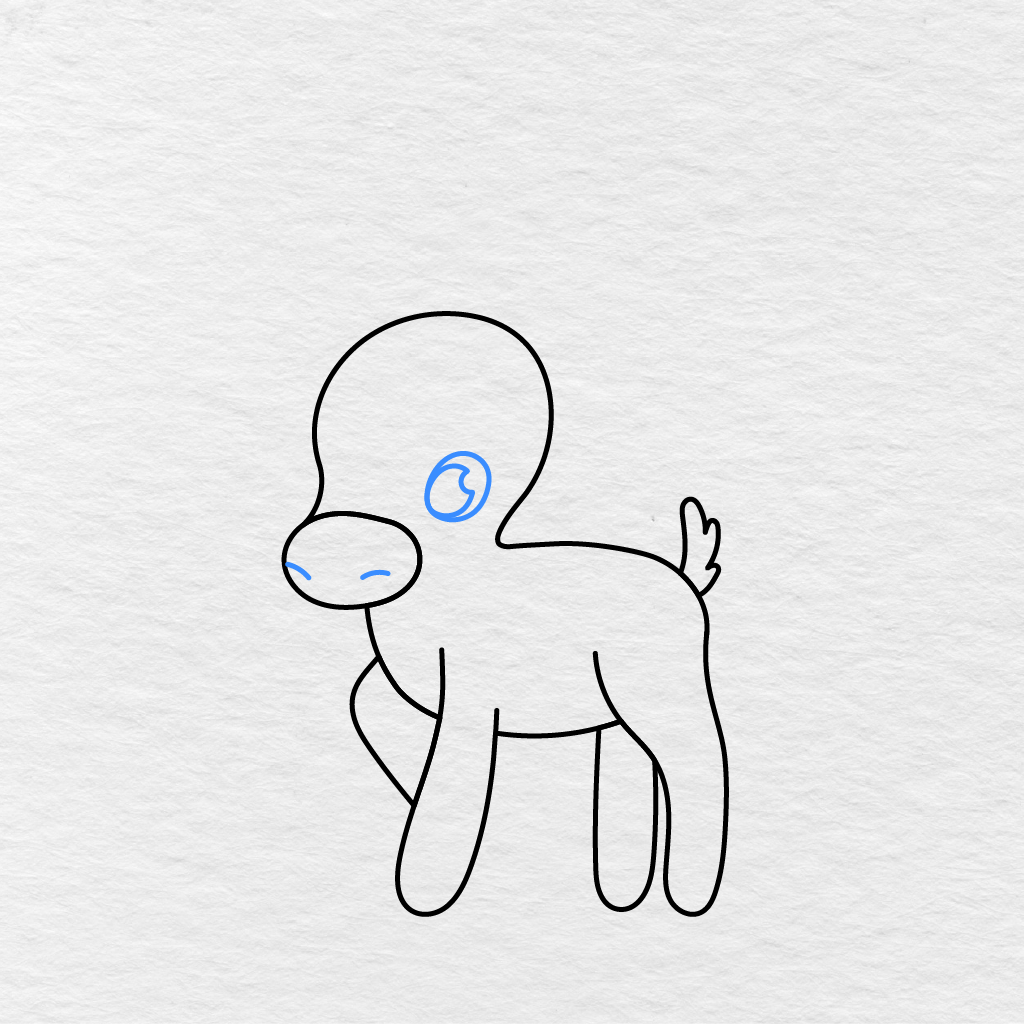
Add the Eye and Nostrils
Draw one big round eye on the side of the deer’s face.
Add a smaller curved line inside the eye for the highlight. Add two more curved lines inside the muzzle for the nostrils.
8
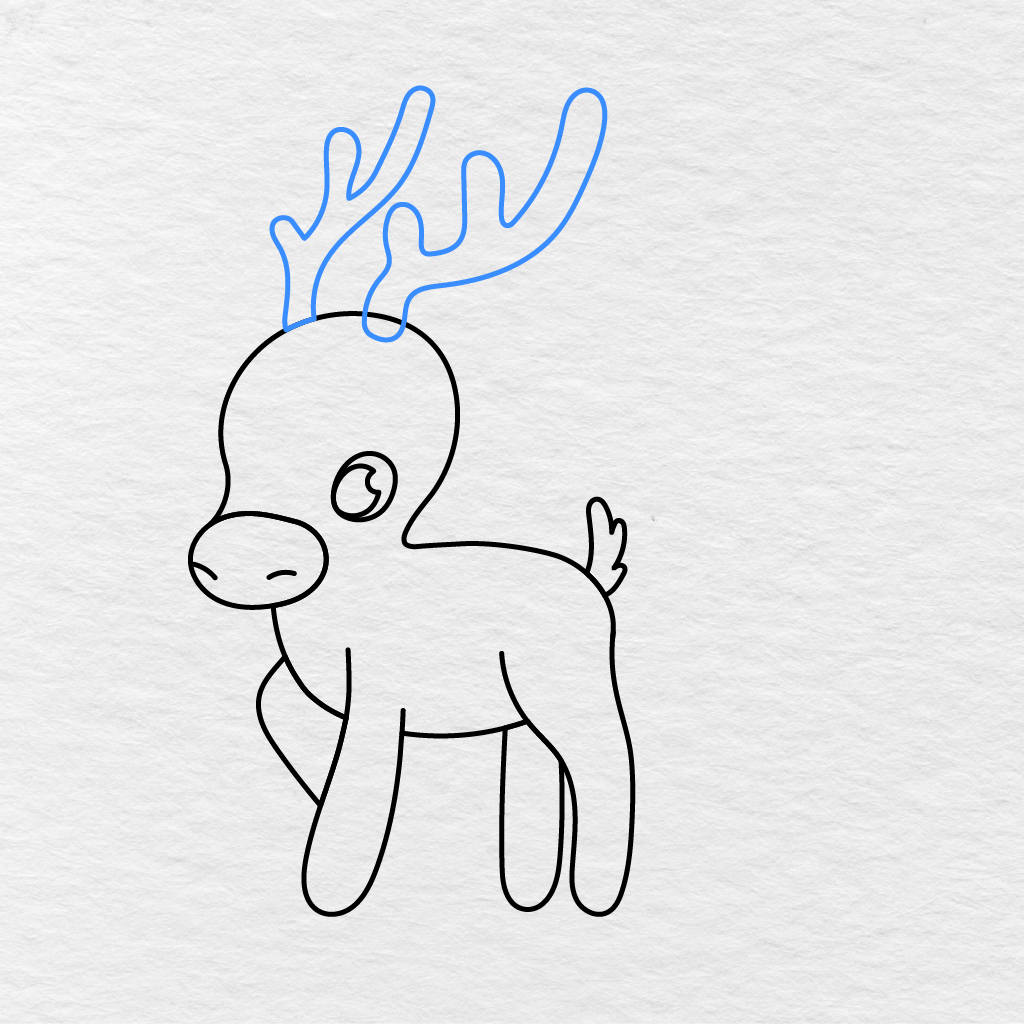
Draw the Antlers
Add two nice branching antlers on top of the deer’s head.
Start with the main stalks of the antlers and then add a few rounded branches coming out of them in an upward direction. The two sides do not have to be perfect replicas of one another.
9
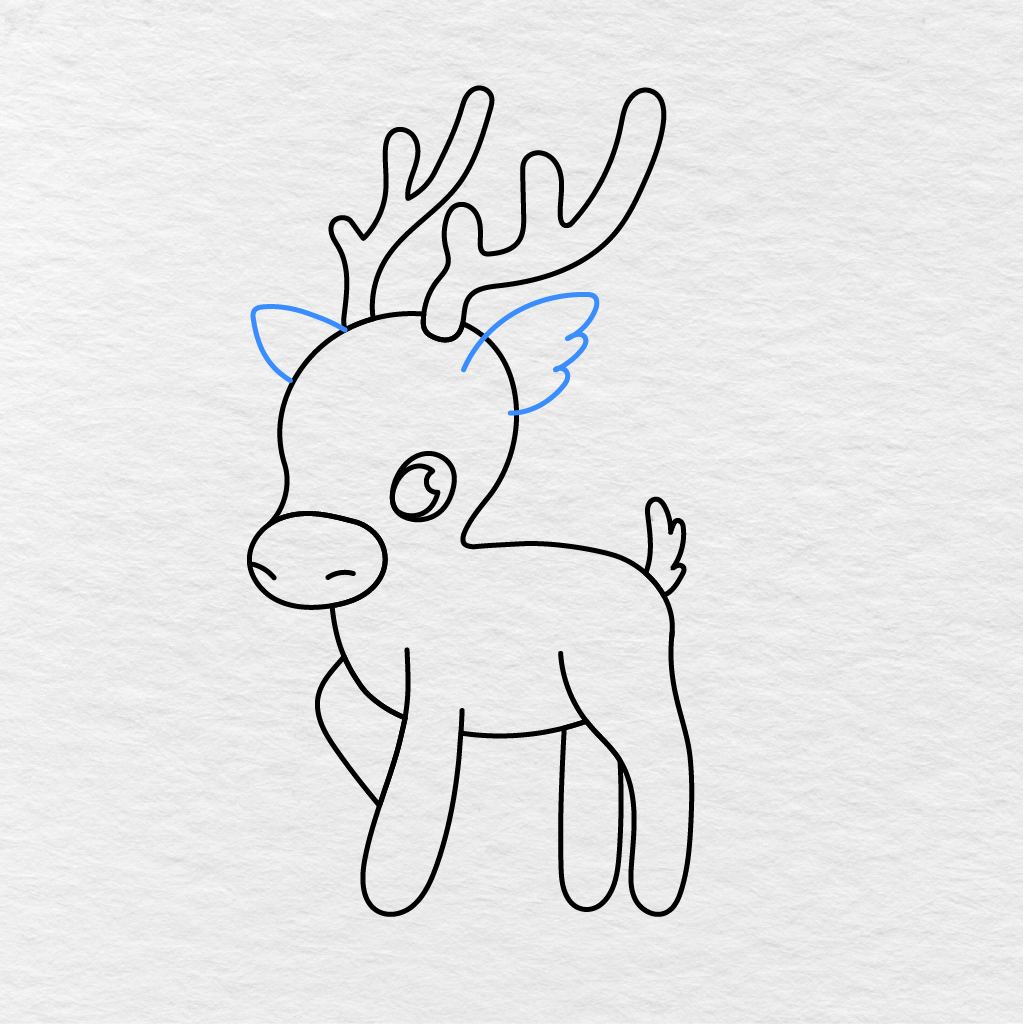
Add the Ears
Add one ear on each side of the deer’s head under the antlers.
Make the visible ear longer and a little pointier. The other ear can be smaller as it will be hidden a little by the head.
10
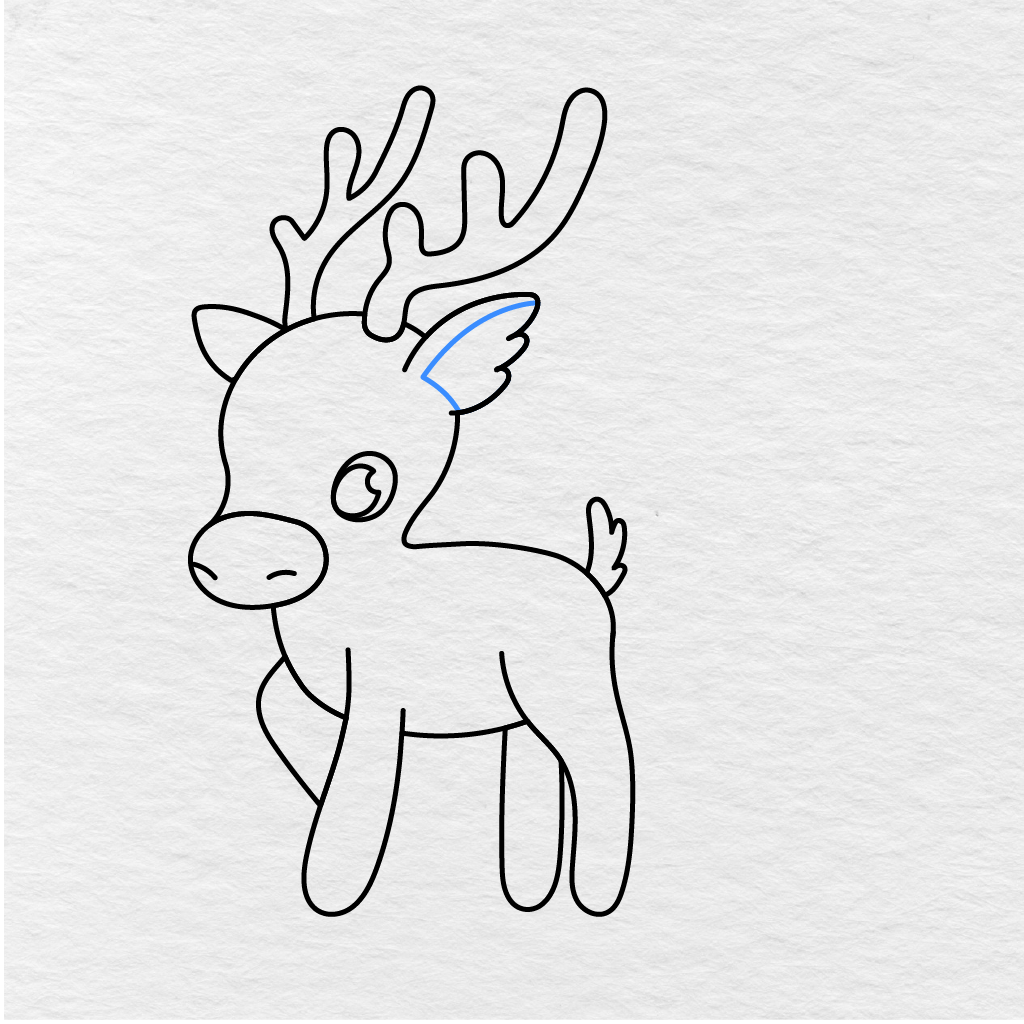
Draw the Inner Ear
Add a smaller curved line inside the big visible ear.
Follow the outer edge of the same ear and then finish with a few pointed lines near the end to complete this step.
11
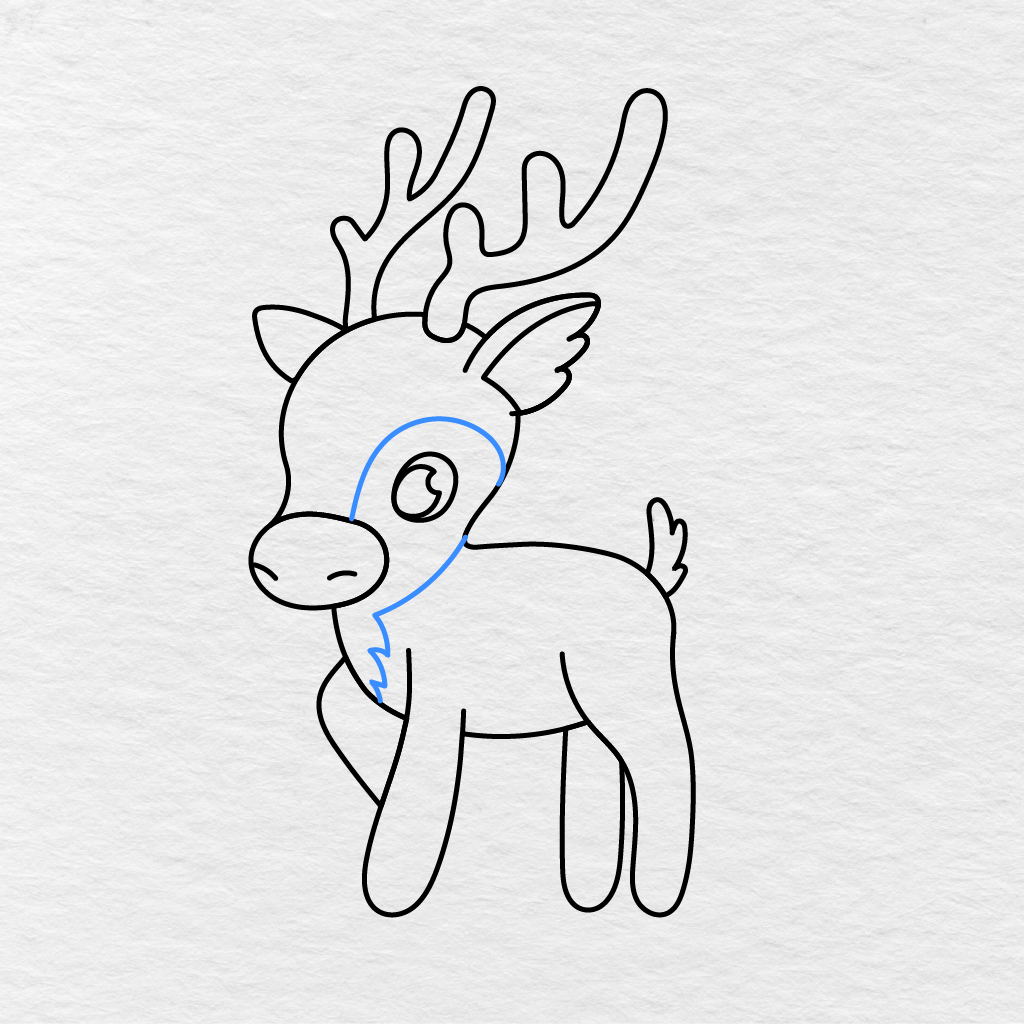
Add the Face Marking and Chest Fur
Draw a long curved line around the deer’s eye and down the side of the face.
Follow the curve of the line under the muzzle and finish with a few pointed lines to add tufts along the chest.
12
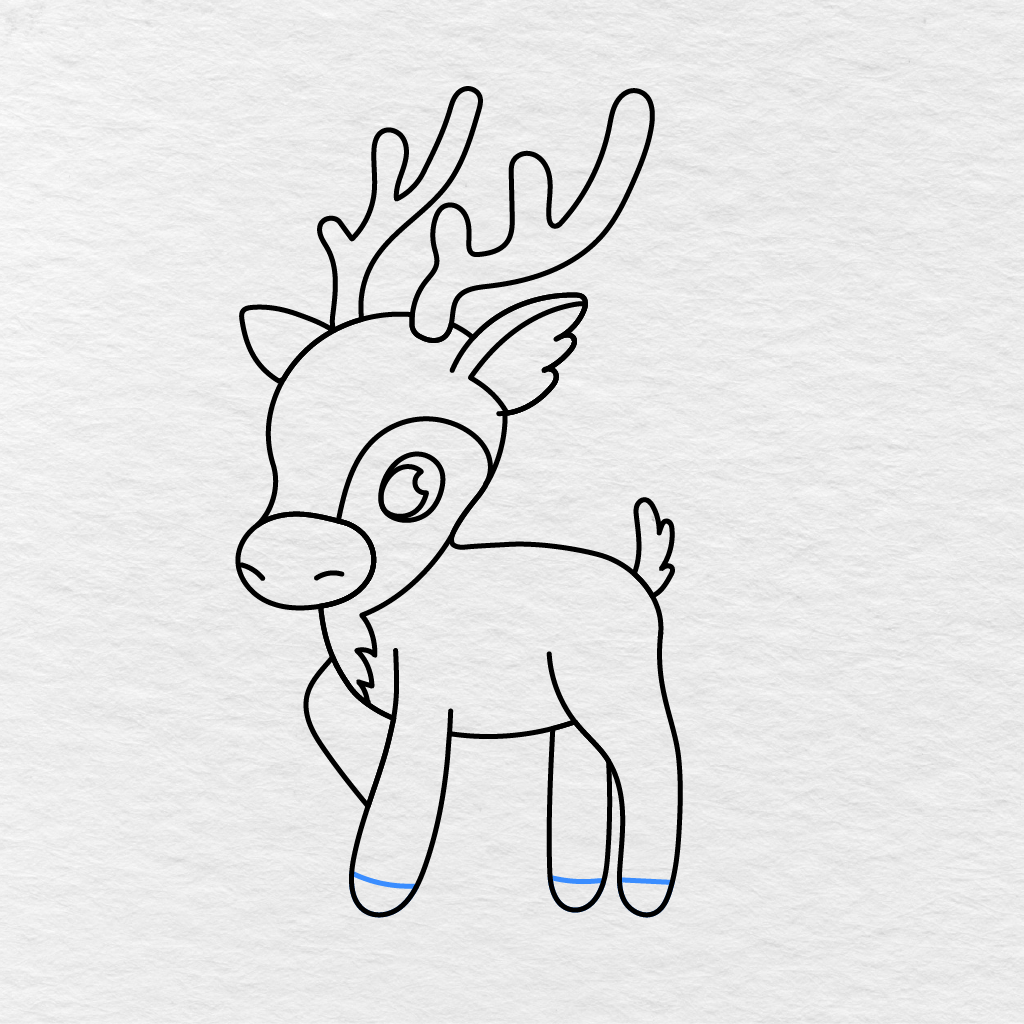
Draw the Hooves
Add a short curved line near the bottom of each visible leg.
The lines will act as little dividers between the hooves and the legs.
13
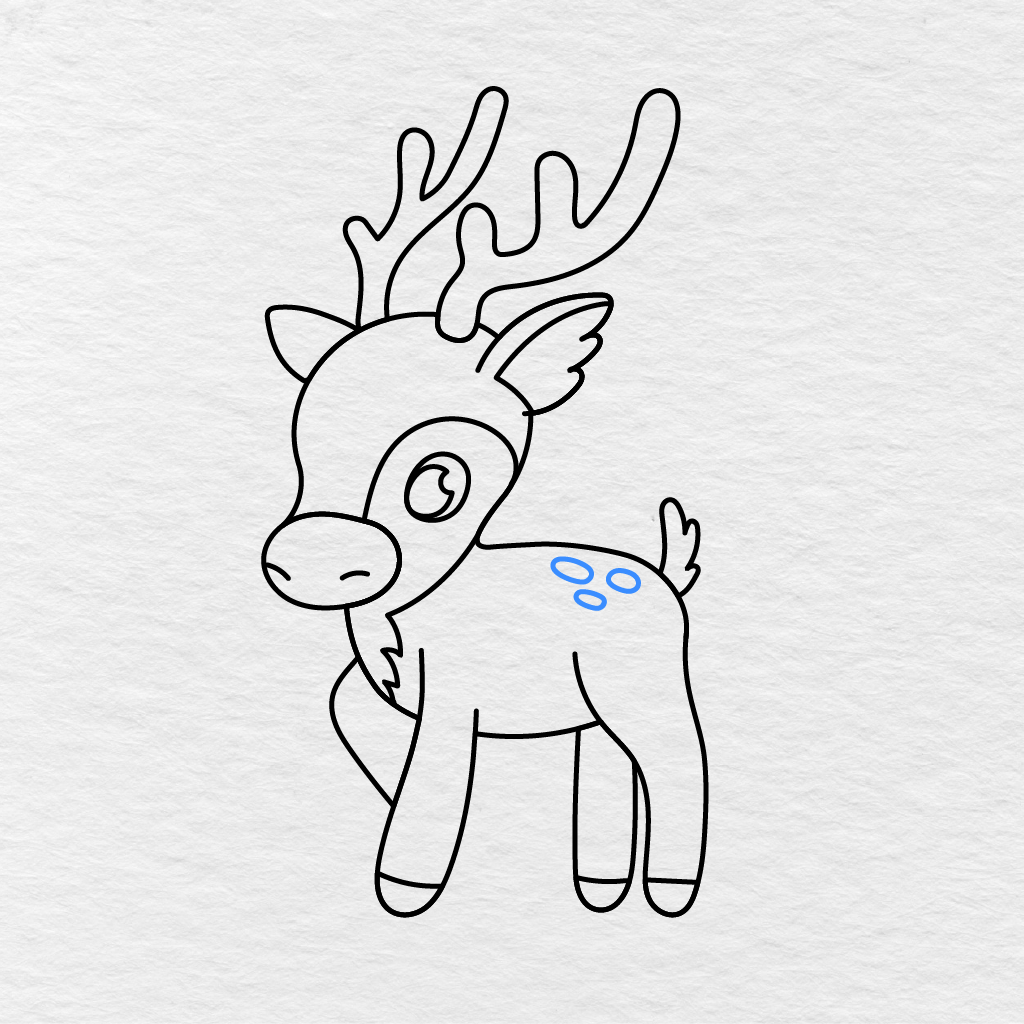
Add the Deer Spots
Draw three small oval shaped spots on the upper back of the deer.
They can be close to one another like in my drawing, or you can space them out a little.
14
Color the Deer
You can now start coloring your completed deer drawing.
I used a nice warm reddish brown for the body, head, ears, and legs. The antlers are dark brown, while the face marking, chest fur, inner ear, and back spots are pale yellow. The deer’s eye is black and white, and the muzzle and hooves are a darker reddish brown.
You can stick with these colors or go with a lighter brown for the body or even go wild and use a completely different color palette. Your deer is now complete!
Frequently Asked Questions
How do you draw a deer step by step?
The deer drawing guide covers 14 easy steps, starting with the head and muzzle shapes, then building out the body, legs, tail, ears, antlers, and finally the hooves and spots before coloring. Breaking the deer into this many small steps means no single stage feels too difficult, even for a first attempt.
Does this guide show how to draw antlers?
Yes, drawing the antlers is its own dedicated step, coming after the ears and eyes are in place, since branching antlers tend to be one of the trickier parts of a deer drawing. Because male deer regrow their antlers every year, giving them their own careful step helps them come out looking right.
Is this deer drawing guide good for kids and beginners?
Yes, it was written for kids and beginning artists, using simple guide shapes for the head and body before adding smaller details like the antlers, ears, and spots. Deer are a familiar woodland animal for a lot of kids, which makes them a fun and approachable subject to practice drawing.
Can this deer guide also be used to practice drawing a reindeer?
The antlers, spots, and hooves in this guide give you a solid base for any deer style character, including a reindeer coloring page, since the two animals share the same basic body shape and branching antlers. It is a generic deer rather than a specific Christmas character, so feel free to add your own festive touches like a red nose or bells if you want a more holiday themed result.
What supplies do I need to draw a deer?
You only need a pencil, paper, an eraser, and coloring tools like crayons or colored pencils to finish the drawing. No special art supplies are required, so this is an easy activity to set up anywhere.
Can I print this as a deer coloring page instead of drawing it myself?
Yes, a printable deer drawing PDF is included at the end of the guide, so anyone who would rather color a ready made deer than draw one from scratch can use that version instead. Click the image or the PDF download button to open it, then print and color the deer with your own colors and spot pattern.
Easy Deer Drawing Step by Step
Have your pencil, paper, eraser, and coloring tools ready. Make sure you draw the initial shapes lightly because you will be erasing quite a bit as the deer starts to take shape.
Printable Deer Drawing PDF
I have a printable deer drawing PDF below for you to color or use as a guide the next time you want to draw a deer. The completed deer drawing includes the antlers, ears, face marking, chest fur, tail, hooves, and back spots we added in this tutorial.
For another forest animal drawing, check out my how to draw a fox tutorialand learn how to draw this cute little creature in easy steps.
Did you color your deer with warm brown colors or did you go with a different color combination? Let me know in the comments below and make sure to share this deer drawing tutorial with another parent, teacher, or a friend.
Printing tips
Choose Fit to page and plain white paper. Every sheet is US Letter and prints correctly on A4 with default settings.
How to print our printables ›