How to Draw a Tiger
Tigers are not only one of the most recognizable big cats, but they also play a vital role in the ecosystems of their habitats. As apex predators, they help to keep the numbers of plant eating animals in check, and protecting tiger habitats also helps to conserve other flora and fauna. In this tutorial, we will show you how to draw a tiger in an easy 16 step process.
This easy tiger drawing is great for kids, and those new to drawing animals, and we will start by using two large guides, then add the legs, tail, ears, face, stripes, paws, toes, and finally color the finished picture.
Our tiger has a friendly face, is standing, and has a curved tail. Using the blue lines as guides, you can see how the simple use of circles, and curved lines, will help you create this tiger drawing.
Want it on paper?
Every step on one sheet, sized for US Letter and A4.
1
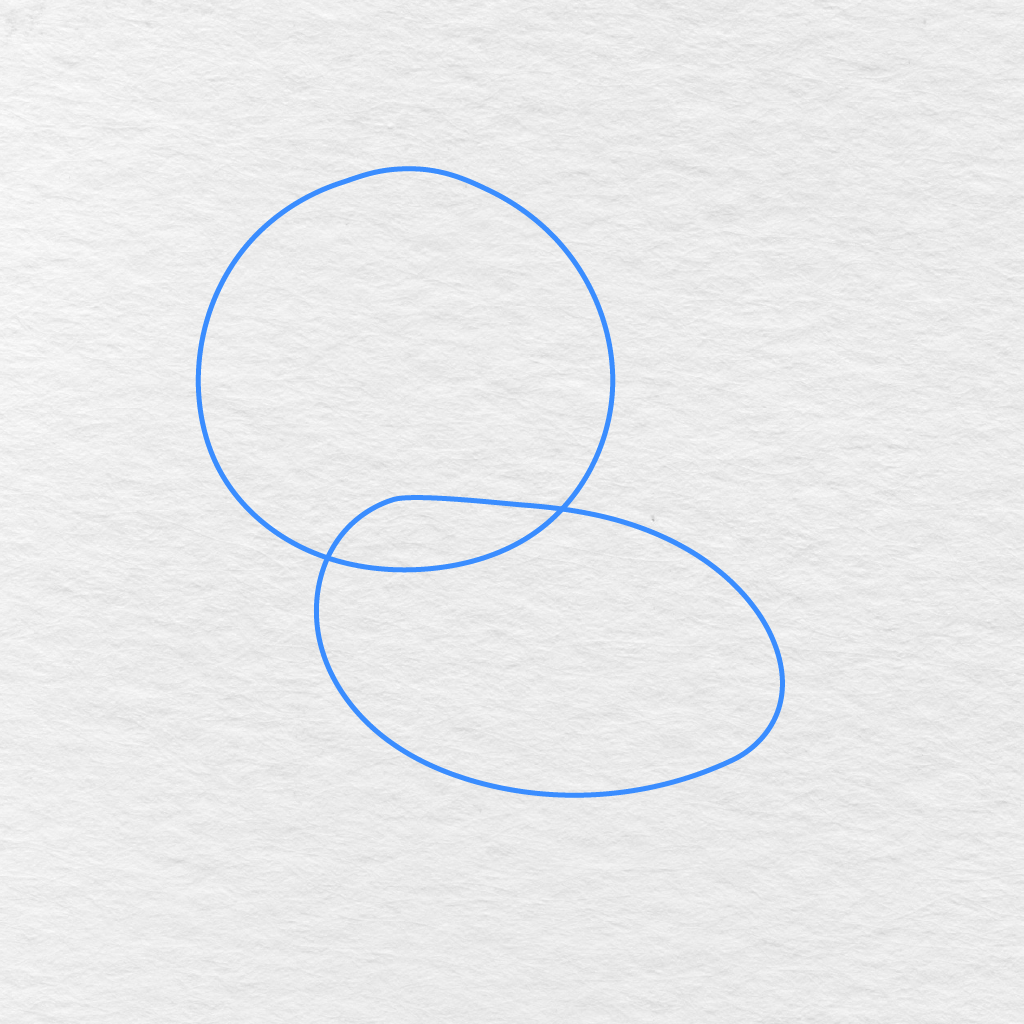
Draw the Head and Body Shapes
We will start by drawing a large circle for the tiger’s head.
Below and to the right of this we will add a longer oval shape, for the tiger’s body, making sure these shapes overlap at the neck area.
2
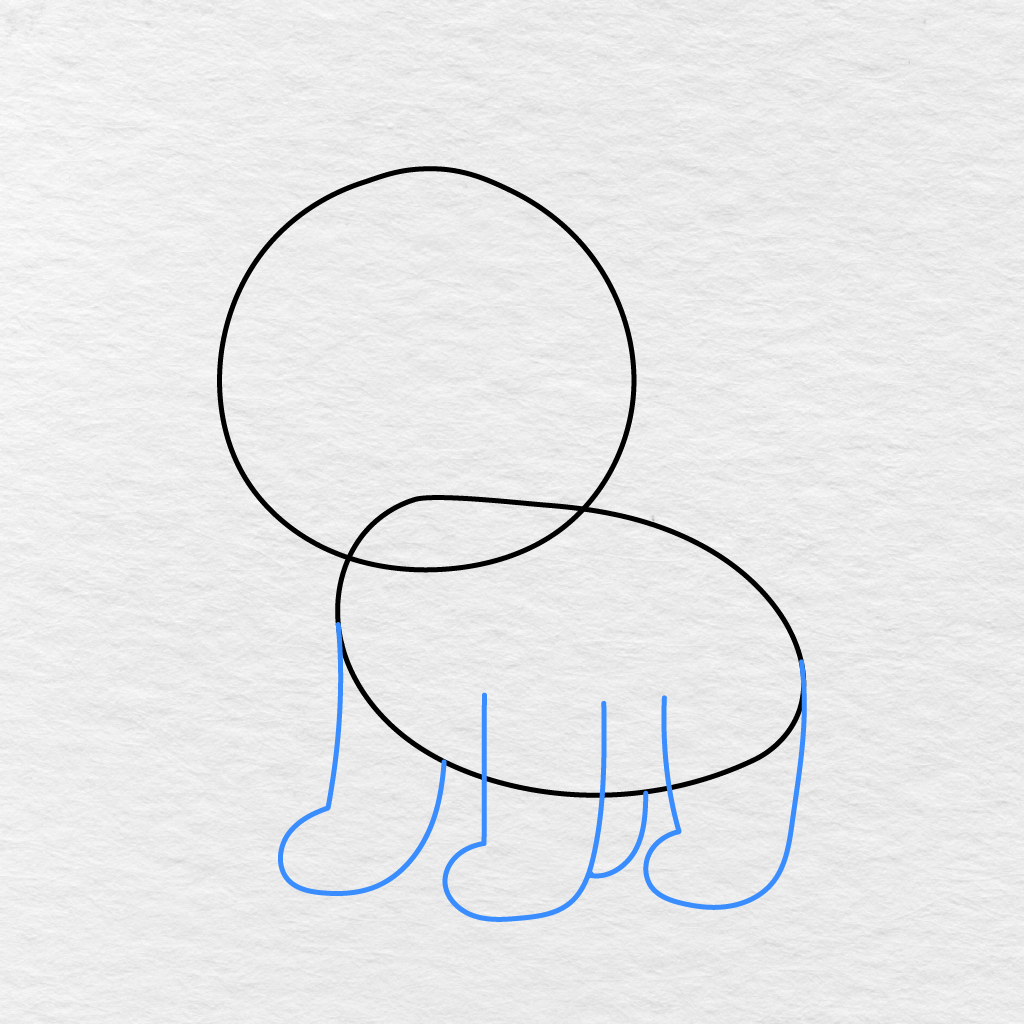
Add the Legs and Paws
Draw four legs below the body.
Extend these legs down to make rounded paws, making sure the two in the middle are placed a little behind the front and back legs.
3
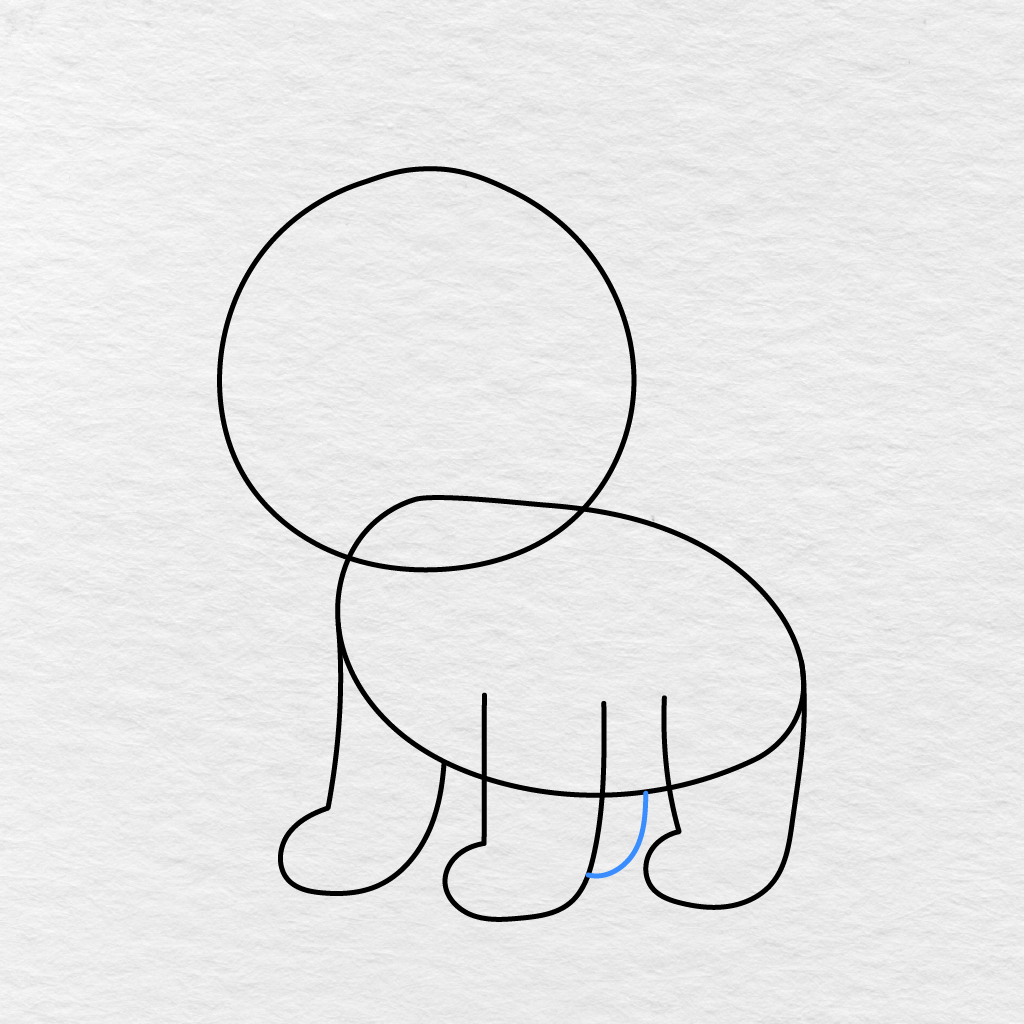
Add the Inner Hind Leg
Draw a small curved line inside the small hind leg beneath the body.
This will help to define the inner hind leg, and separate it from the other leg in front.
4
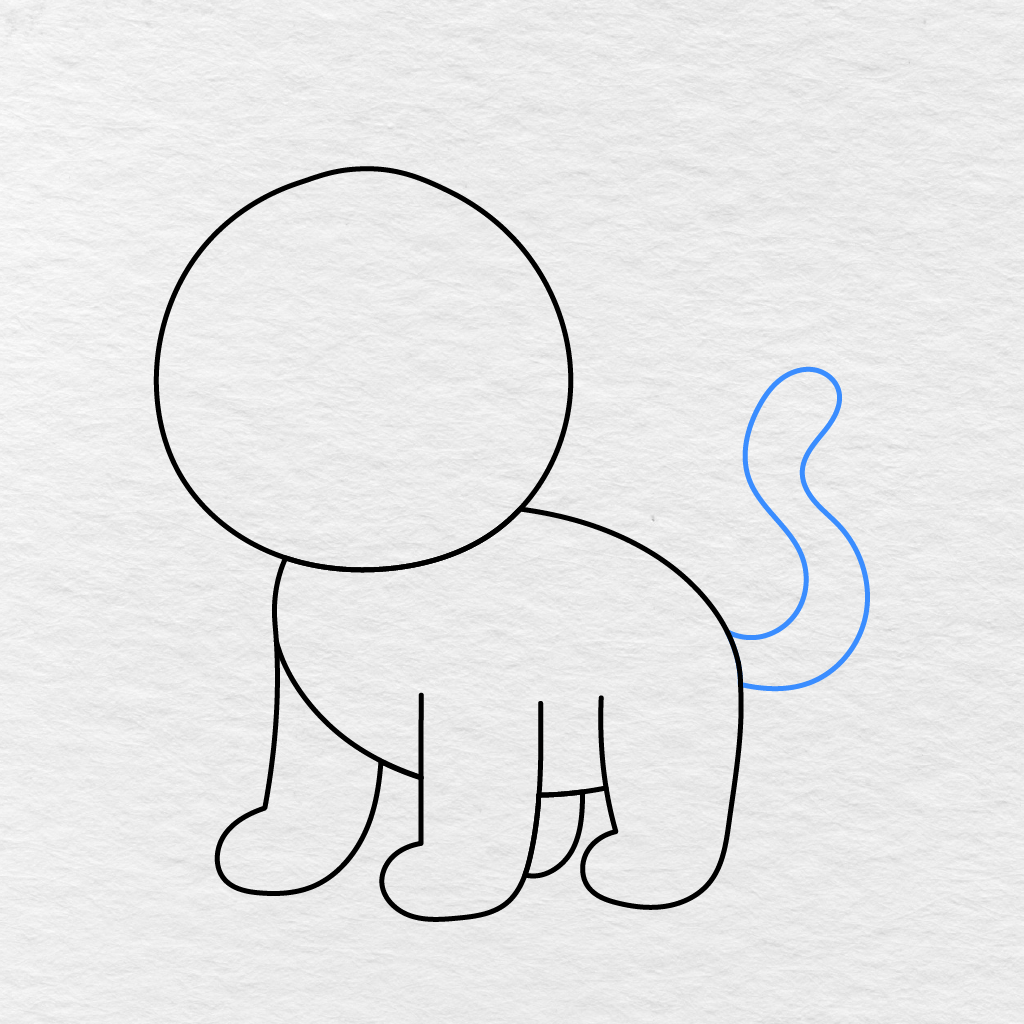
Add the Tail
Draw a long curved tail, extending from the back of the tiger’s body.
Make sure to curve this tail upwards, then down again, finishing with a rounded end.
5
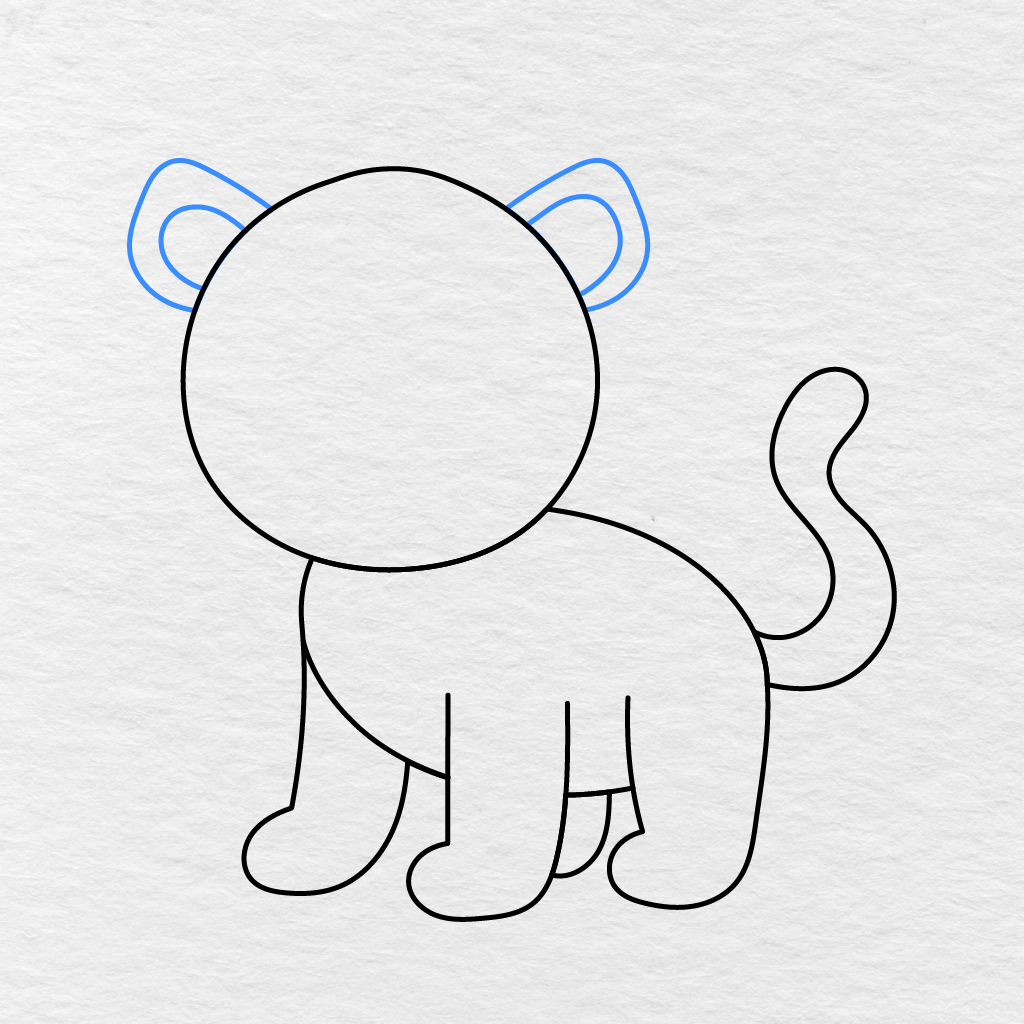
Draw the Ears
Add one rounded ear on either side of the tiger’s head.
Inside each of these, we will draw a smaller curved line to finish off the inner ear area.
6
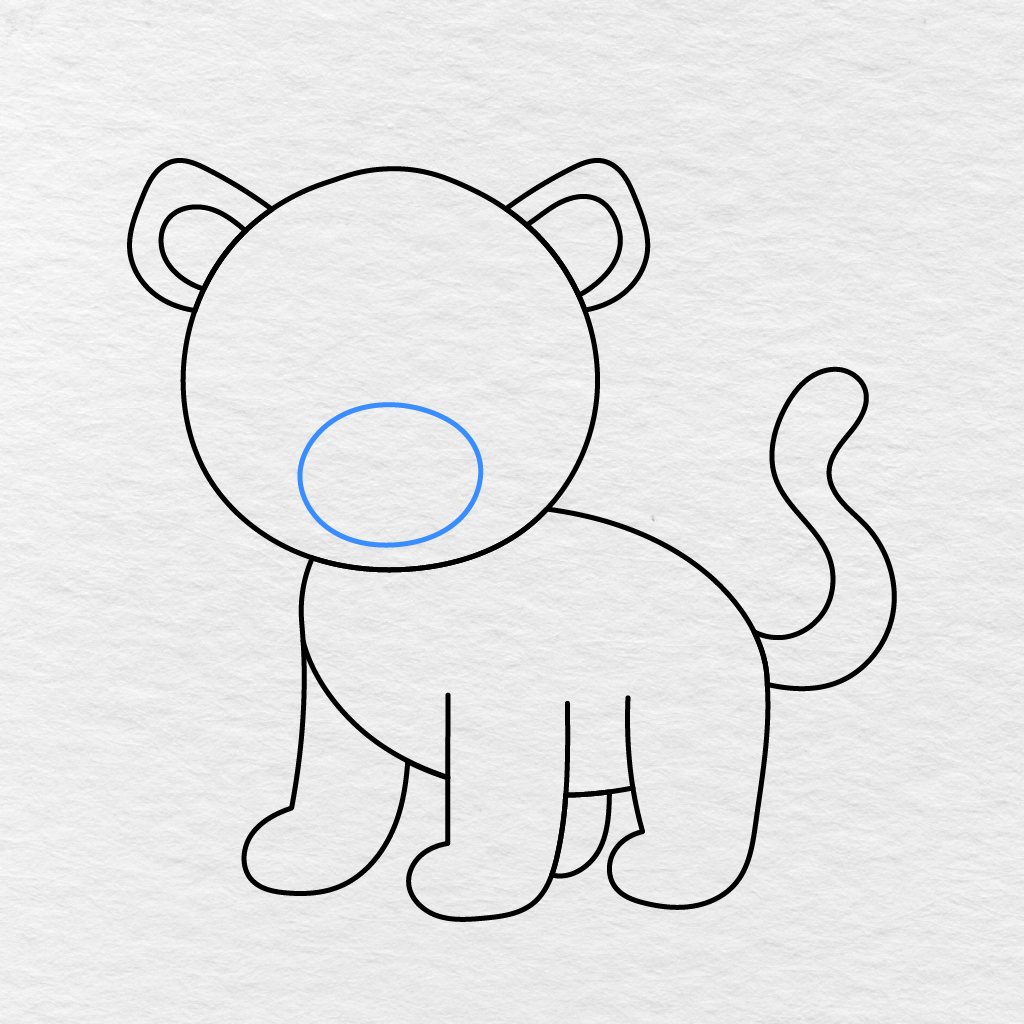
Add the Muzzle
Draw a wider horizontal oval, just below the center of the tiger’s face.
This will form the area for the nose and mouth which we will add in the next step.
7
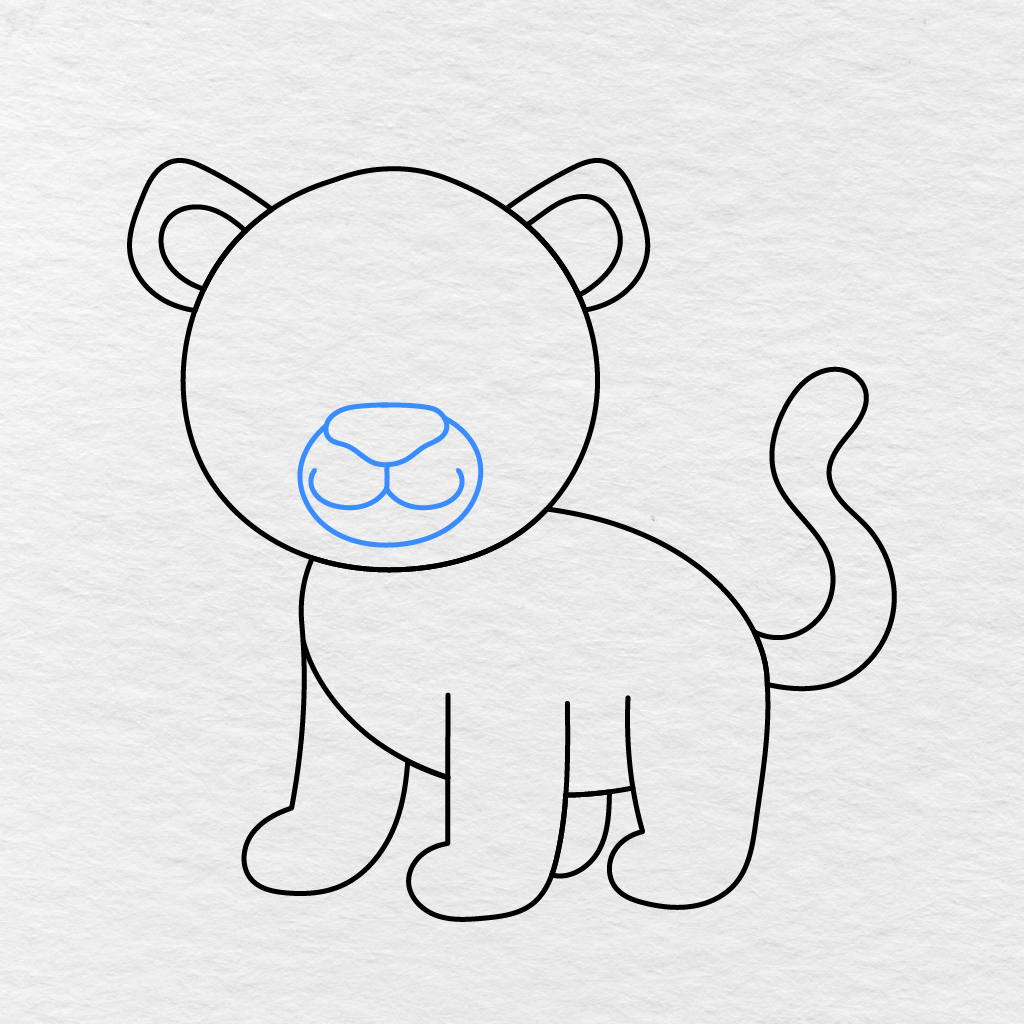
Add the Nose and Mouth
Draw a rounded triangular shape, at the top of the muzzle.
From the bottom of this triangle draw a short line down to the end of the muzzle, then two more curved lines to finish off the smiling mouth.
8
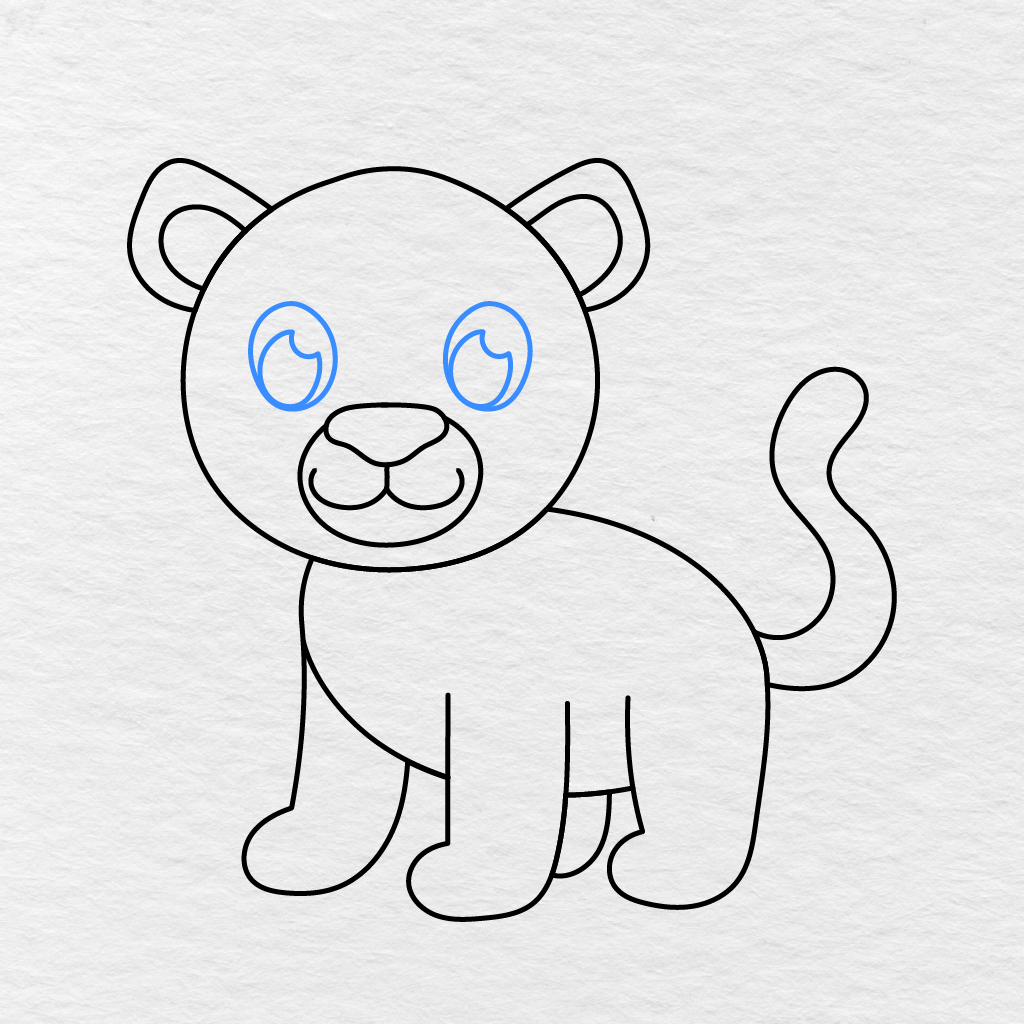
Add the Eyes
Draw two large oval shapes, above the muzzle.
Inside of each eye we will add a smaller curved line to give the illusion of the highlighted area.
9
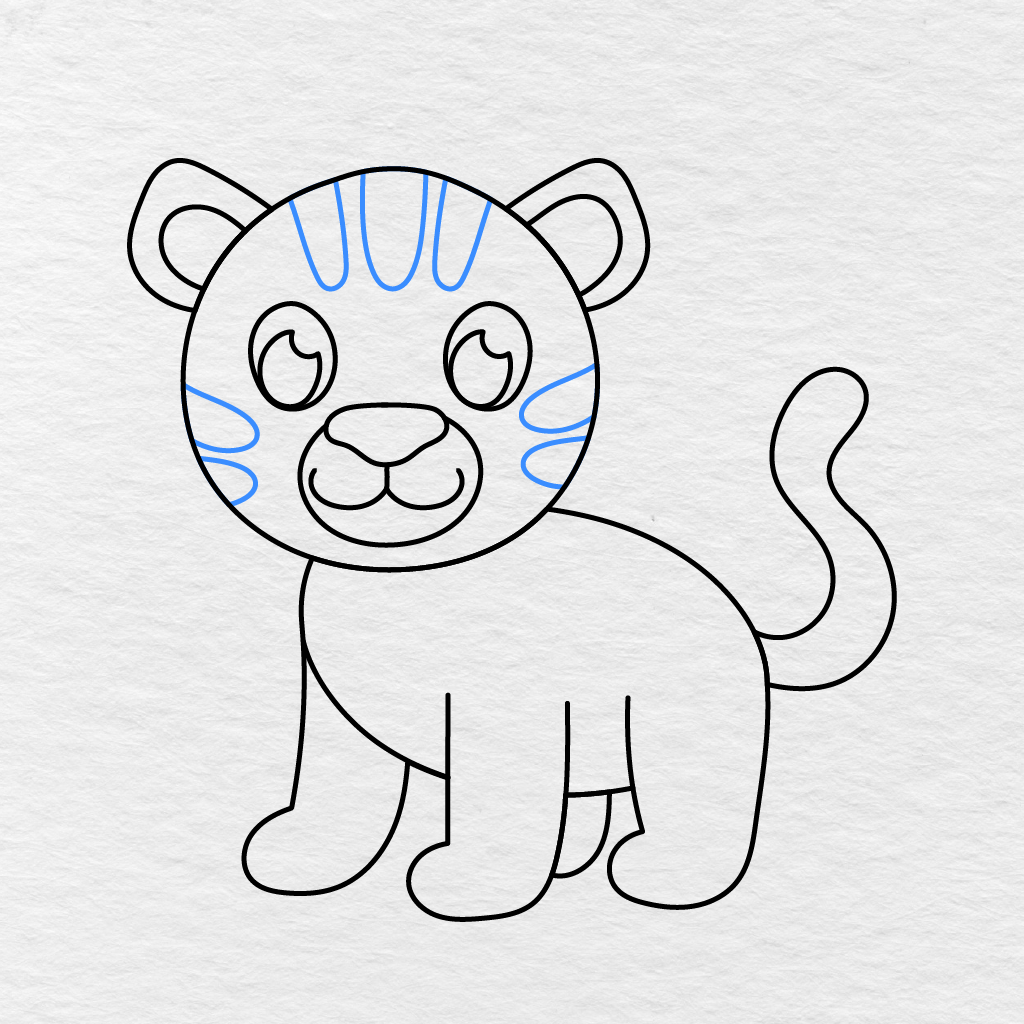
Add the Face Stripes
Draw three long rounded stripes across the top of the tiger’s face.
Add two shorter ones across the cheeks, making sure the ones on the sides curve inwards towards the face.
10
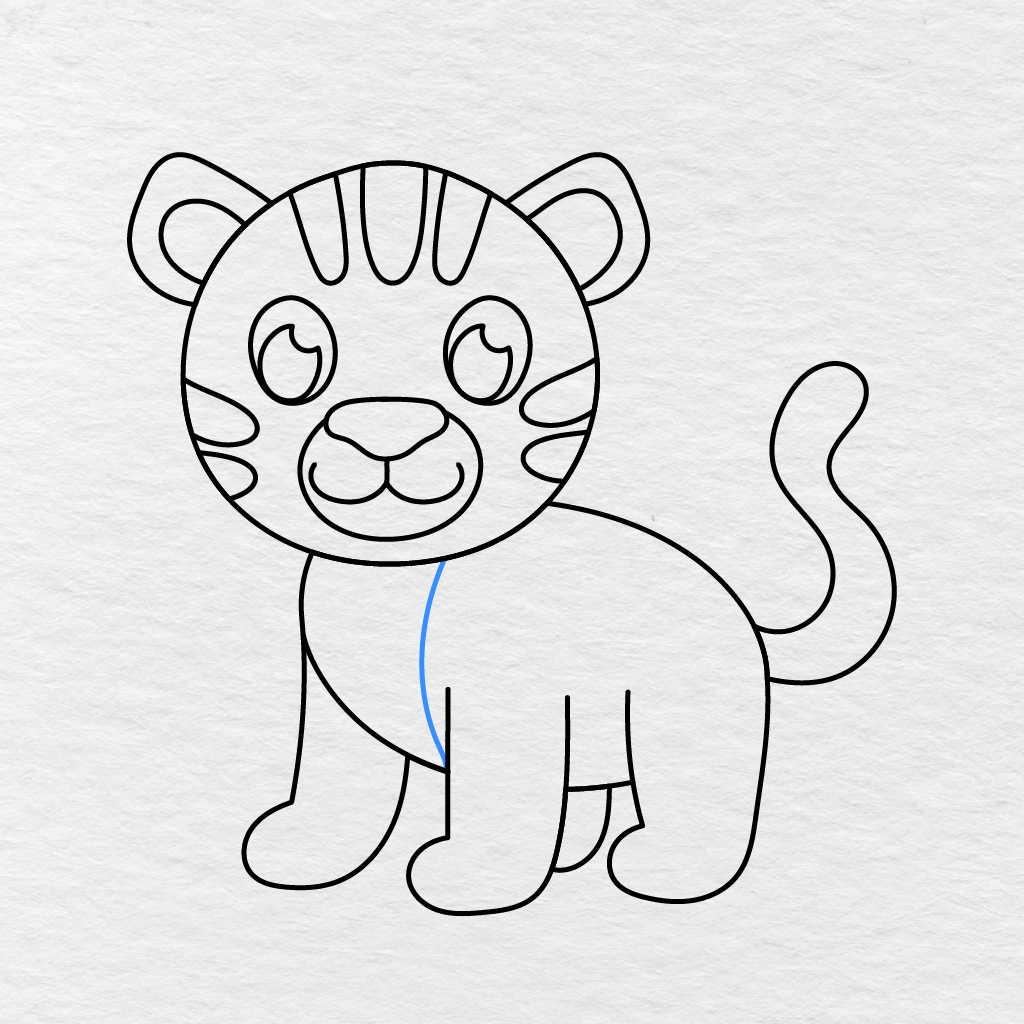
Add the Chest Line
Draw a long curved line, just below the tiger’s head.
Move this down towards the front leg until we have separated the light colored chest area, from the rest of the picture.
11
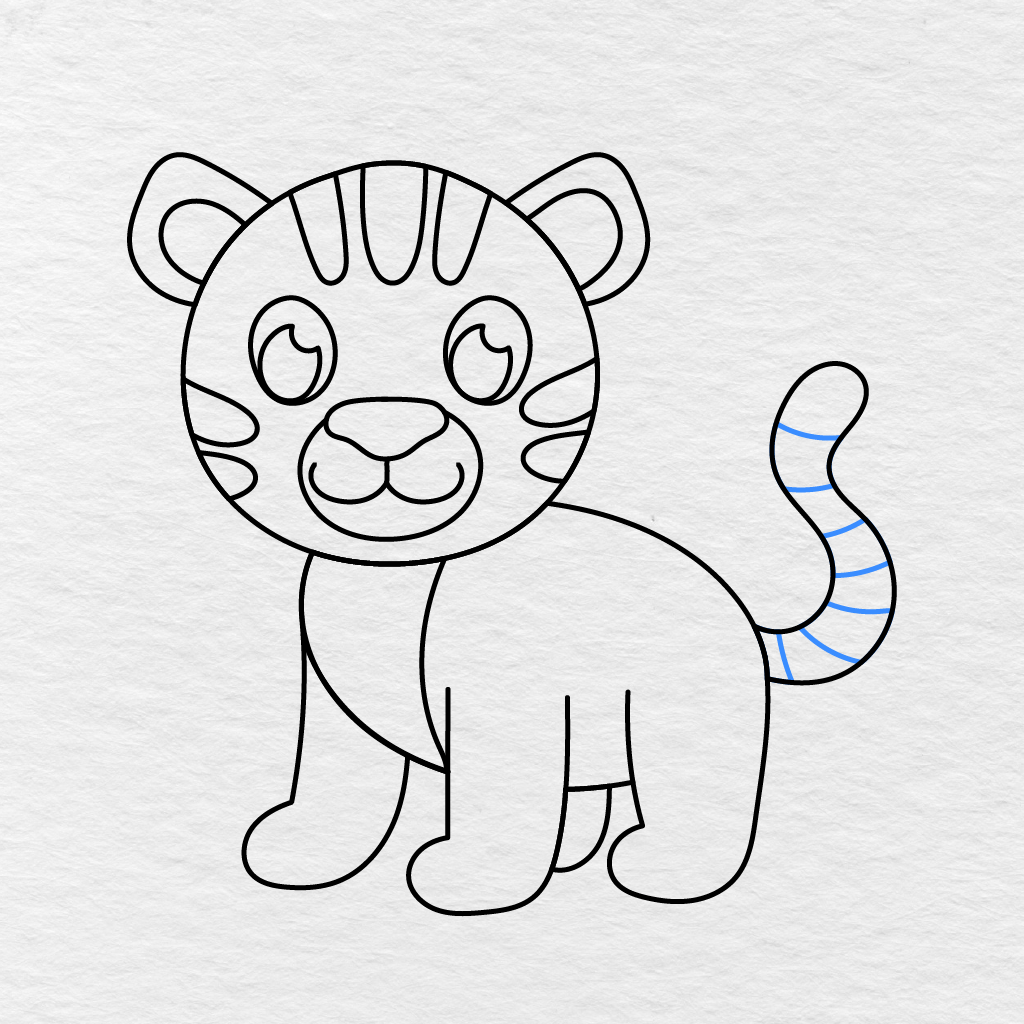
Add the Tail Stripes
Add a few curved lines across the tail.
Make sure to space these out across the whole length of the tail, and follow the curve as we get to the end.
12
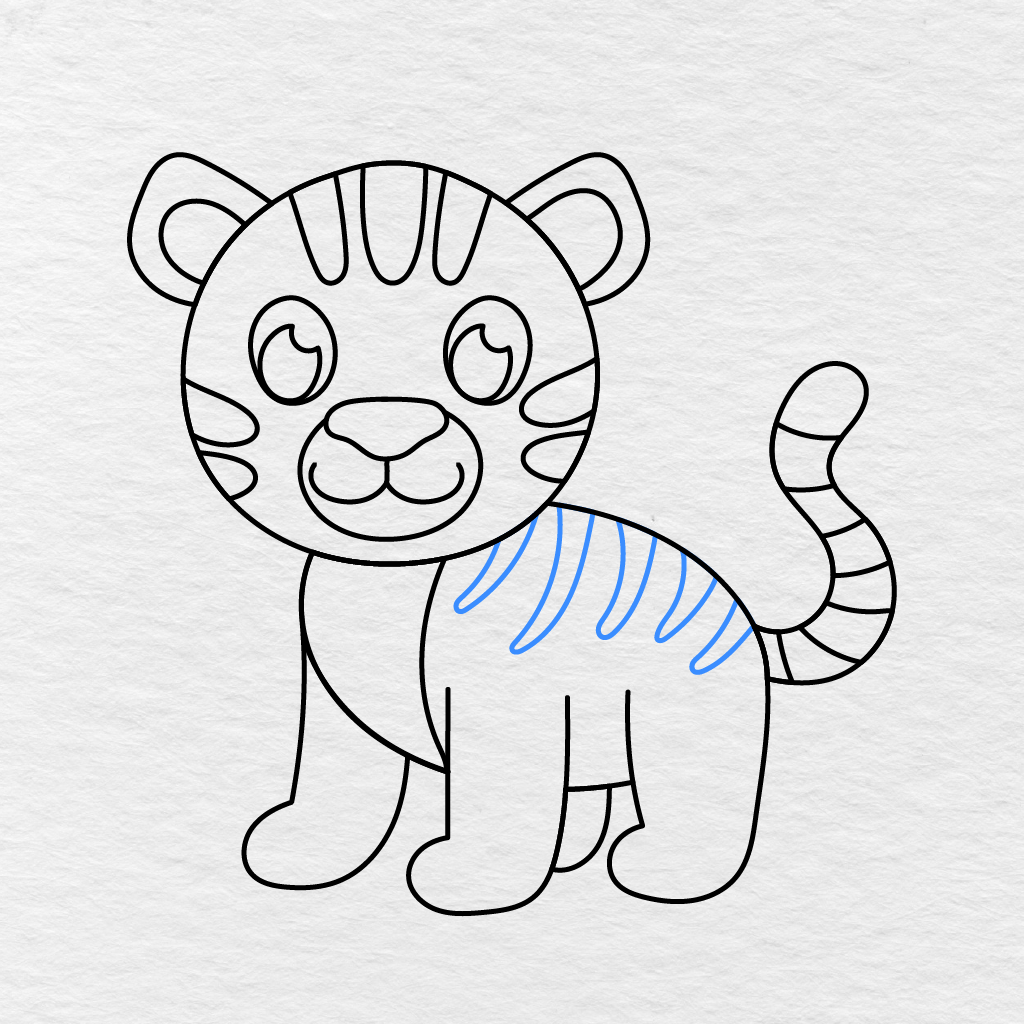
Add the Body Stripes
Draw a few long curved lines across the upper part of the tiger’s body.
Make sure to follow the curve of the body, pointing downwards, and varying the length of each stripe, as they do not have to be exactly the same.
13
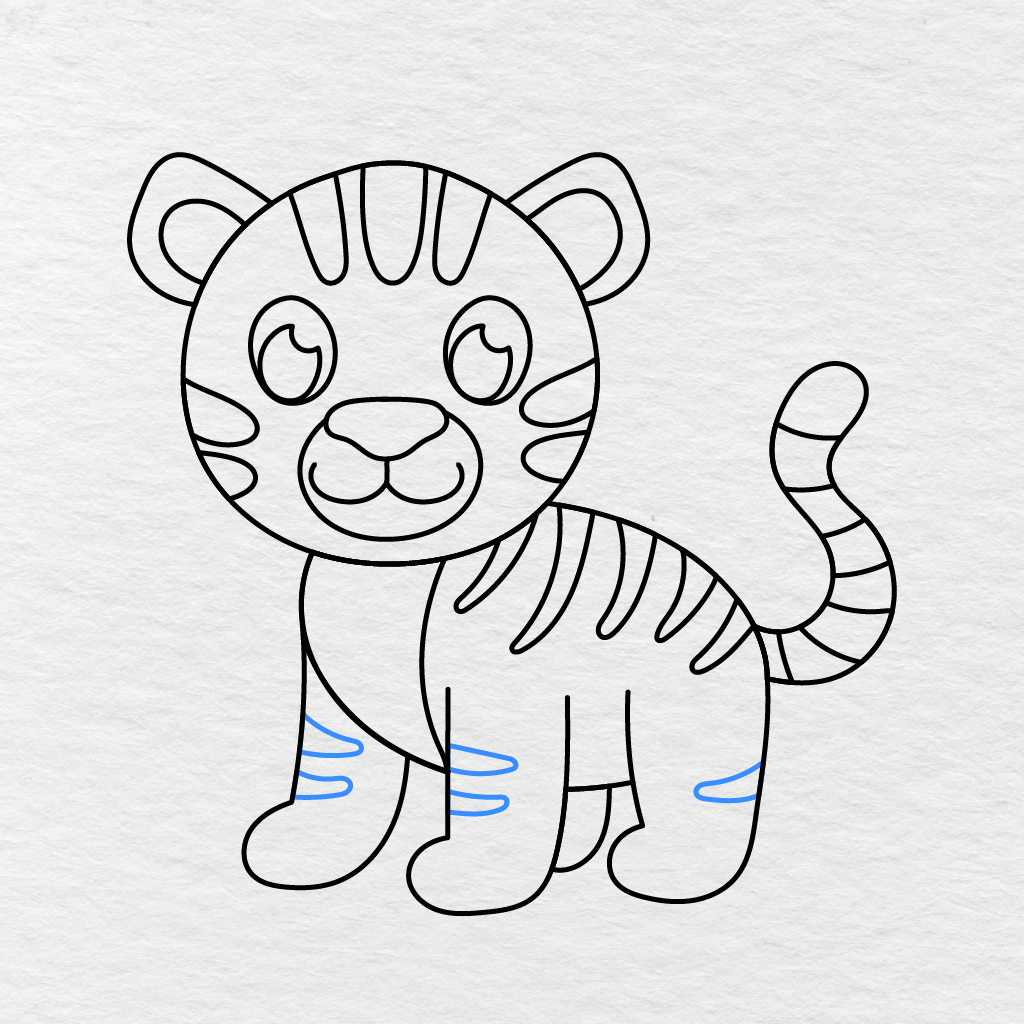
Add the Leg Stripes
Add some shorter stripe shapes to the visible legs.
Make sure to add a few to the front legs, and one to the back leg, and remember to keep them in line with the other stripes.
14
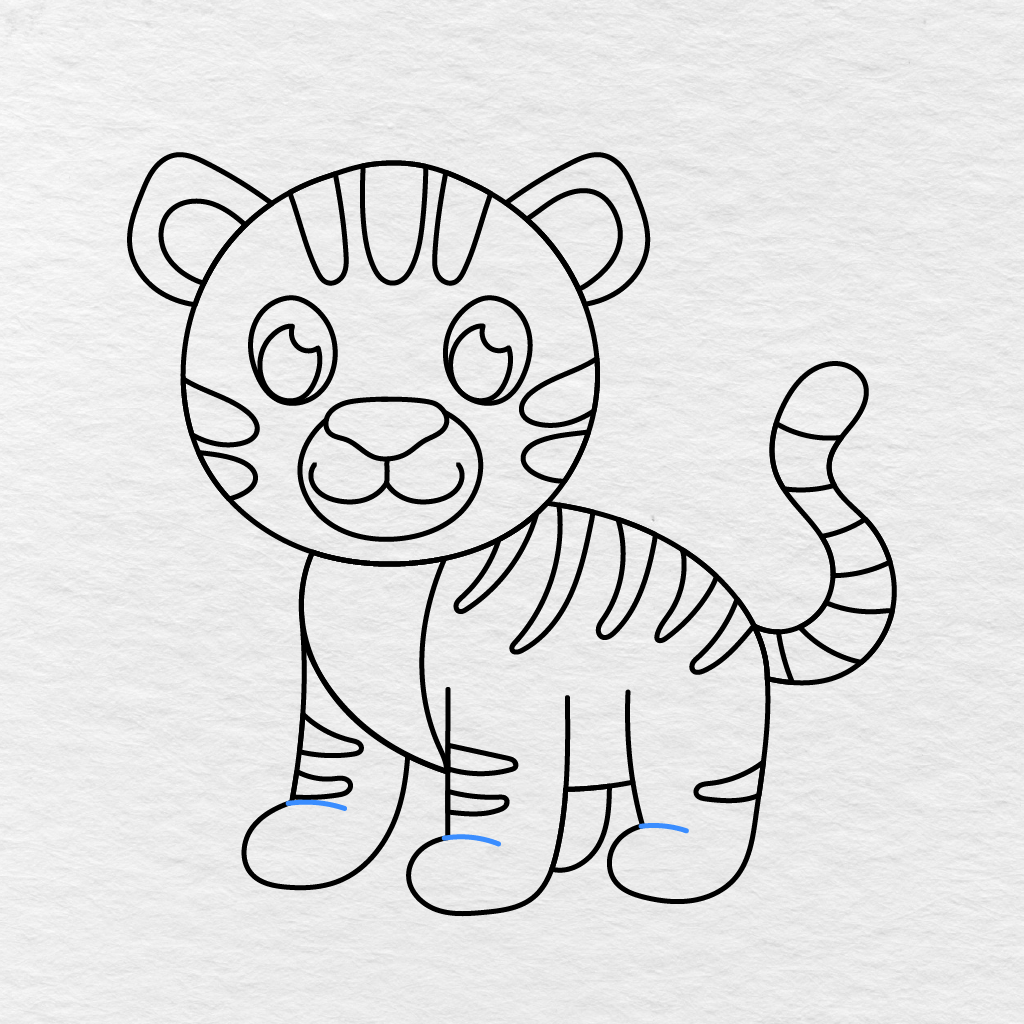
Add the Paw Lines
Draw a short curved line across each of the three large visible paws.
This will help to separate the large rounded paws, from the lower part of the legs.
15
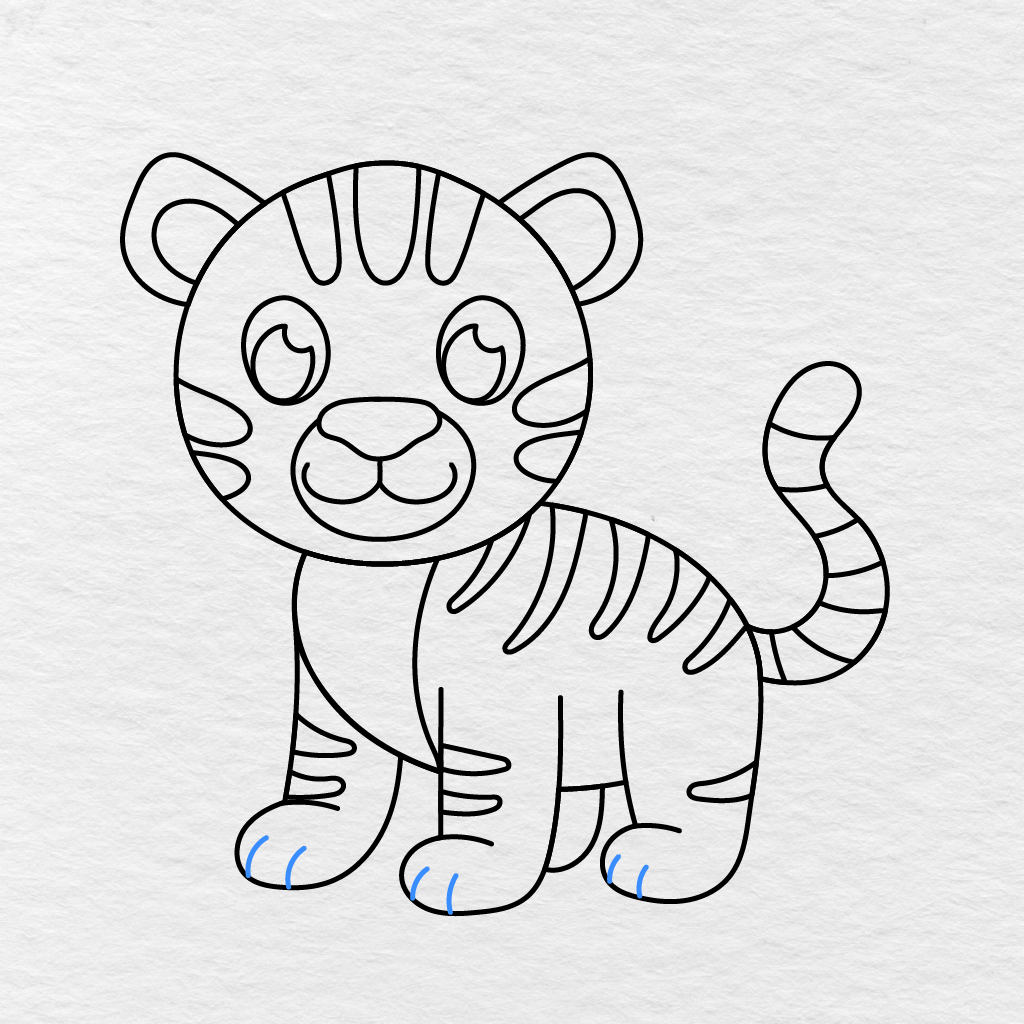
Add the Toes
Add two short curved lines, inside of each large visible paw.
Open up the lines a little bit more towards the end to give the illusion of three toes on each paw.
16
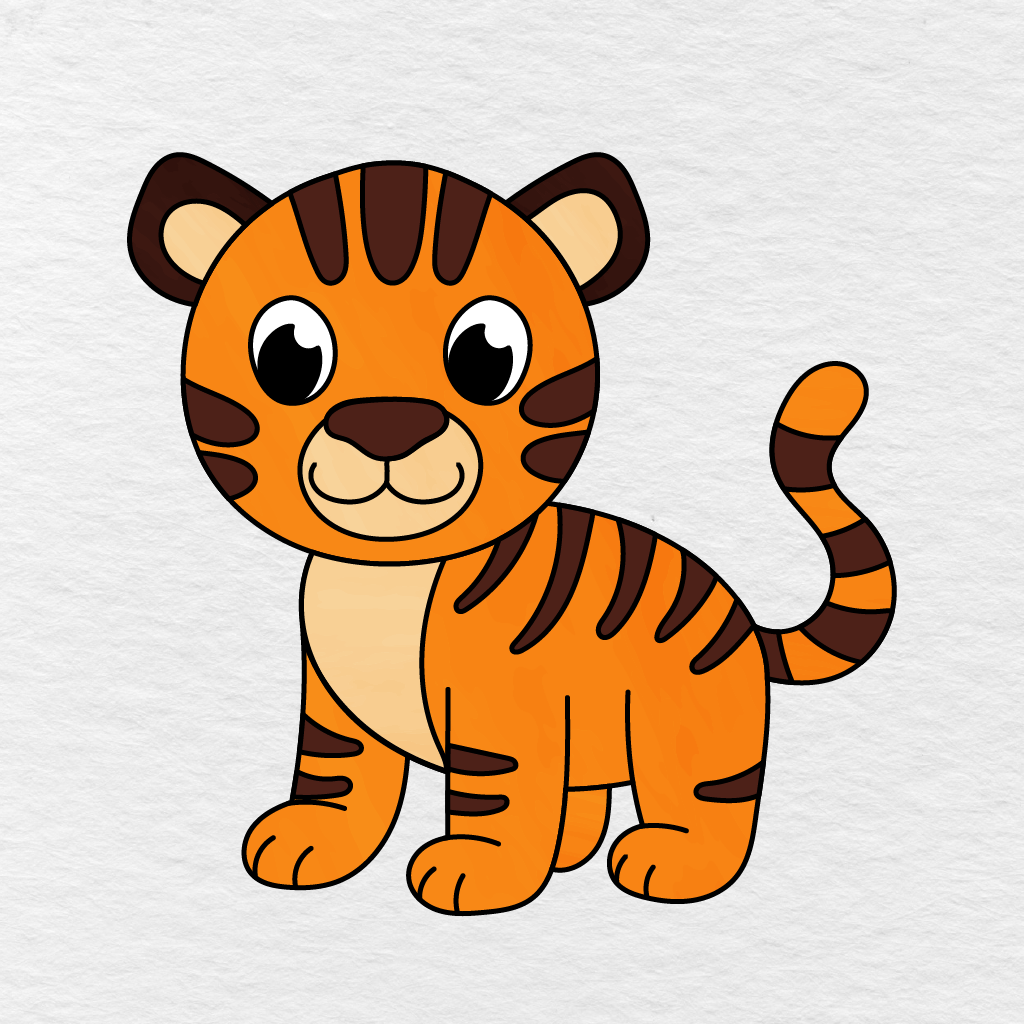
Color the Tiger
We will finish off this easy tiger drawing by adding color to our finished picture.
We have used orange for the body and tail, dark brown for the stripes, nose and outer ears, and a light cream color for the muzzle, chest, and inner ears. The eyes are finished with black and white. You can use the same colors, or choose to color your tiger picture in a different way.
Your Easy Tiger Drawing is Finished!
Frequently Asked Questions
How many steps are in this tiger drawing guide?
Drawing a tiger walks you through 16 easy steps in this guide, starting with two large guide shapes and then adding the legs, tail, ears, face, stripes, paws, toes, and color. Breaking it into small steps makes a detailed animal like a tiger feel much more manageable for kids and beginners.
Do I need to be good at drawing animals to follow this guide?
Not at all. The guide is built for kids and people new to drawing animals, using simple circles and curved lines as guides before any of the finer tiger details like stripes and paws are added. Just take it one step at a time and use the example picture as a reference when you color the finished tiger.
Can I print this tiger drawing guide?
Yes, a free printable PDF version of the guide is available to download, so you can work through the steps on paper at your own pace and keep it for coloring later.
Easy Tiger Drawing Step by Step
Get your pencil, paper, eraser, and coloring tools ready. We will be drawing the first guides in lightly, as a few of them will be erased as this tiger takes shape.
Printable Tiger Drawing PDF
We have a printable tiger drawing PDF, below, that you can color in, or use as a reference guide, if you wish to recreate this picture in the future. Remember that the finished picture includes the ears, the facial features, the curved tail, the stripes, the paws, and the toes that we have drawn in this tutorial.
If you wish to print and color in more pictures of this wild cat, you can find additional images in our Tiger Coloring Pagescollection.
Did you go with traditional orange and brown colors, or did you decide to create your own unique tiger? Make sure to tell us about it in the comments below, and share this tiger drawing tutorial with another parent, teacher, or even your friends.
Printing tips
Choose Fit to page and plain white paper. Every sheet is US Letter and prints correctly on A4 with default settings.
How to print our printables ›